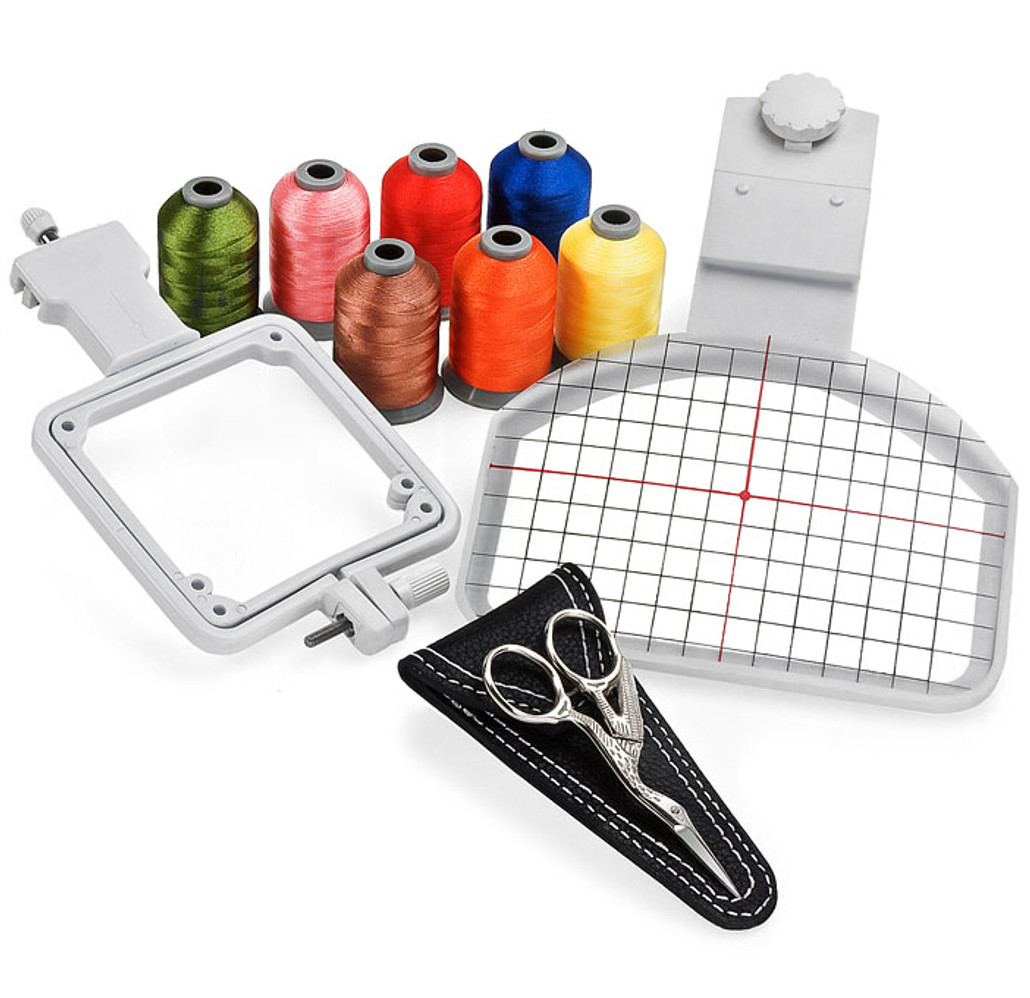
Need the perfect gift for the embroidery enthusiasts in your life? Finally the perfect gift for anyone with an interest in embroidery. A truly amazing deal, which includes a sampler Polystar thread, stork scissors, cap hoop, and sock hoop at a fraction of the regular price.
DETAILED DESCRIPTION
+
Cap Hoop (Values for $99.99)
The Cap Hoop allows you to embroider on uncommon material. The cap bill is held down outside your regular hoop, allowing for security and a fortified position. Using the cap hoop is easy and convenient, in fact a baseball cap be hooped and ready to be embroidered on in seven simple steps. The approximate measurements are 9" Long, 5" Wide, 4" outside hoop and clamps to embroidery hoops larger than 5.25" x 4.5".

Sock Hoop (Values for $29.99)
Embroidering on socks and other small items is simple and easy with the included Sock Hoop. The Sock Hoop is made of a durable ABS plastic and metal component. The Sock Hoop mounts onto larger hoops and has a hoop size of about 4" x 4". You can start embroidering socks in 4 simple steps!
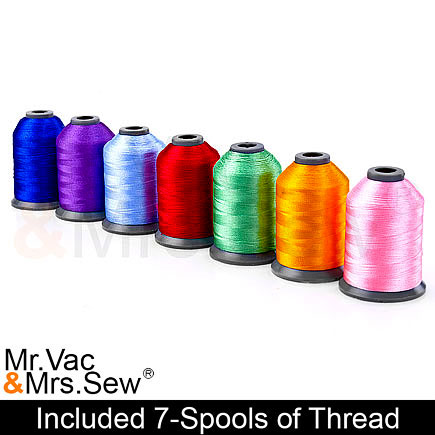
Polystar Sampler Thread Set (Values for $27.99)
Both shiny and vibrant colors, create an amazing look to any project you are working on. The most amazing thing about this thread is it's resistance to breakage, never again will you experience a breakage in thread in the middle of embroidering. The weight of the thread is 50 wt, providing superior embroidery. This set includes 7 spool set of 1,000 meter spool, of the shiniest polyester thread you ever saw on true mini king spools. This thread has superior shine and superior strength. We are so excited to offer this thread. The thread sews out beautiful with so much shine! Best of all this thread is on mini king spools so the thread comes off the spool easy. *Thread Colors may vary.

Stork Embroidery Scissors w/ Leather Case (Values for $17.95)
When you need a scissors for that fine detail work, reach for this charming little stork. The needle sharp point can reach where others can't. Ideal for monogram work, applique, embroidery, ripping seams and trimming loose threads. This scissor is not only versatile but beautiful with it's gorgeous engraved stork design and silver color. The stork scissors come in a beautiful stitched leather case with a magnetic button for easy closing.
Ready to be Embroidered on in Seven Simple Steps
Easy and convenient the baseball cap can be hooped and ready to be embroidered on in seven simple steps.
- Step 1 - Pull shiny backing off of adhesive stabilizer. Adhere to the bottom of the Cap Hoopster. Make sure the stabilizer is taught and firmly attached to the Cap Hoop, allowing it to wrap around the edges of the Cap Hoopster if necessary.
- Step 2 - Determine where design should go onto the cap. The use of a water-soluble pin will help center design. Just make sure a vertical and horizontal line intersecting at the center point of the design.
- Step 3 - Loosen visor clamp by turning thumbscrew. Attach clear template with two holes to the two small pegs on the visor clamp. Loosen back strap on cap and slide the visor under the template and visor clamp. Center the area of the cap that will be embroidered. The markings on the cap and the template will help you to do this.
- Step 4 - Make sure sweat band is pulled back before you tighten down on thumbscrew.
a) You must prevent the sweatband from being stitched to the cap. Taping or pinning the sweat band may be necessary.
b) Stand-up buckram (a non-fused backing) must be pulled back with sweatband. Cutting buckram liner an inch or two on each side, where it is stitched to the visor, will allow it to be pulled back neatly.
- Step 5 - Press the cap down against the adhesive backing starting in the middle and working out. The cap must be as flat and smooth as possible.
- Step 6 - Clamp the Cap Hoopster to the outer machine hoop on the side opposite where the machine hoop attaches to the embroidery unit.
- Step 7 - Turn your machine on and set it up for embroidery as usual. Turn embroidery unit on and attach attach machine hoop. You may have to remove the foot and/or shank to do this. Use curser keys to center needle and begin to embroider designs onto the cap. Remember, design must be rotated clockwise a quarter turn.
Hoops are made to fit these machines:
- Singer XL-150/ XL-5000/ XL-6000/ XL-1000
- Singer Futura CE-100/ CE-200
- Singer Futura CE-150/ CE-250/ CE-350
- Singer SES-1000/ SES-2000
- Brother PC-8200/ PC-8500/ PC-8500D
- Brother PC-6500
- Brother PE 700/ PE700II/ PE 750D/ PE-770/ PE-780D
- Brother ULT-2001/ ULT-2002/ ULT-2003
- Brother Innovis 6000D/ Innovis 4500D/ Innovis 4000D/ Innovis 4000LTD/ Innovis 1000/ Innovis 1200/ Innovis 1250D/ Innovis 1500D/ Innovis 2500D/ Innovis 2800D
- Janome 9500/ 9700/ 300E/ 10000/ 10001/ 11000
- Babylock Ellegante/ Ellegante 2
- Babylock Esante/ Babylock Esante 2
- Babylock Ellure / Ellure Plus
- Babylock Ellageo/ Ellageo Plus
- Babylock Ellisimo
- Babylock ES1/ EM1/ EM2/ ESE/ ESE1/ ESE2
- Bernina BE170/ BE180/ BE500/ BE600
- Brother PE100/ PE150/ PE200/ PE170D/ PE180D/ PC700/ PC7500
- Elna 8006/ 9006
- New Home 9000/ 5000
- Pfaff 7500
- Simplicity SE2/ SE3
- Viking #1/ #1+/Designer 1
* Note some of the above models only work with a larger hoop. Hoops must be larger than 5.25" x 4.5" for this cap hoop to work.
The Sock Hoop is Ready to be Embroidered on in Four Simple Steps
Easy and convenient the baseball cap cap be hooped and ready to be embroidered on in seven simple steps.
• Step 1- Insert the 4 metal pins into the holes of the inner hoop all the way down. If sock size is for the ages 7 o over, insert 4 pins into the holes on the corner. If sock size is for the ages 7 or under, insert 2 metal pins into the other holes located inside of the corner.
• Step 2- Use a water soluble pen to mark the area where you want to embroider, then turn sock inside out.
• Step 3- Pull out socks as tightly as possible without stretching, then place the inner hoop and outer hoop of the sock hoopster together. Tighten the thumbscrew to secure sock.
• Step 4- Remove inner art of the hoop included with your machine, attach Sock Hoopster to any side of the outer part of the hoop except the mounting side. Choose the side which best fits for your hoop. In doing so you will be able to determine the correct rotation of the design. Tighten the mounting screw.
Included Accessory
- 4 Metal Pins